

因为powerline以及homebrew均需要安装command line tool,网络条件优越的同学在执行本文下面内容之前,可以先安装XCode并打开运行一次(会初始化安装components),省去以后在iterm2中的等待时间。
另外,git也是必要的,各位可以自行下载安装,除了网络没有任何坑:
介于此,本文默认各位同学已经安装了git环境和xcode(command line tools),遇到提示找不到git命令或需要安装command line tool的地方,文中不再赘述了。
安装iTerm2
Term2 是一款完全免费的,专为 Mac OS 用户打造的命令行应用。 可以直接去官网下载: https://www.iterm2.com/
或者键入👇命令:
brew cask install iterm2
安装Oh my zsh
安装方法有两种,可以使用curl或wget,看自己环境或喜好:
# curl 安装方式sh -c "$(curl -fsSL https://raw.githubusercontent.com/robbyrussell/oh-my-zsh/master/tools/install.sh)"# wget 安装方式sh -c "$(wget https://raw.githubusercontent.com/robbyrussell/oh-my-zsh/master/tools/install.sh -O -)"Mac系统默认使用dash作为终端,使用命令修改默认使用 zsh:
chsh -s /bin/zsh如果想修改回默认dash,同样使用chsh命令即可:
chsh -s /bin/bash选择主题
gnoster 是常用的 zsh 主题之一,你可以挑选你喜欢的 zsh 主题, 以下以 gnoster 为示例
下载 agnoster 主题,执行脚本安装:
cd ~/Desktop/OpenSourcegit clone https://github.com/fcamblor/oh-my-zsh-agnoster-fcamblor.gitcd oh-my-zsh-agnoster-fcamblor/./install执行上面的命令会将主题拷贝到oh my zsh的themes中。
安装成功后,用户$HOME目录下会出现 .zshrc 文件,用 vim ~/.zshrc 打开隐藏文件,将主题配置修改为 agnoster,修改如下
vi ~/.zshrcZSH_THEME="agnoster"修改完成后按一下 esc 调出 vi 命令,输入
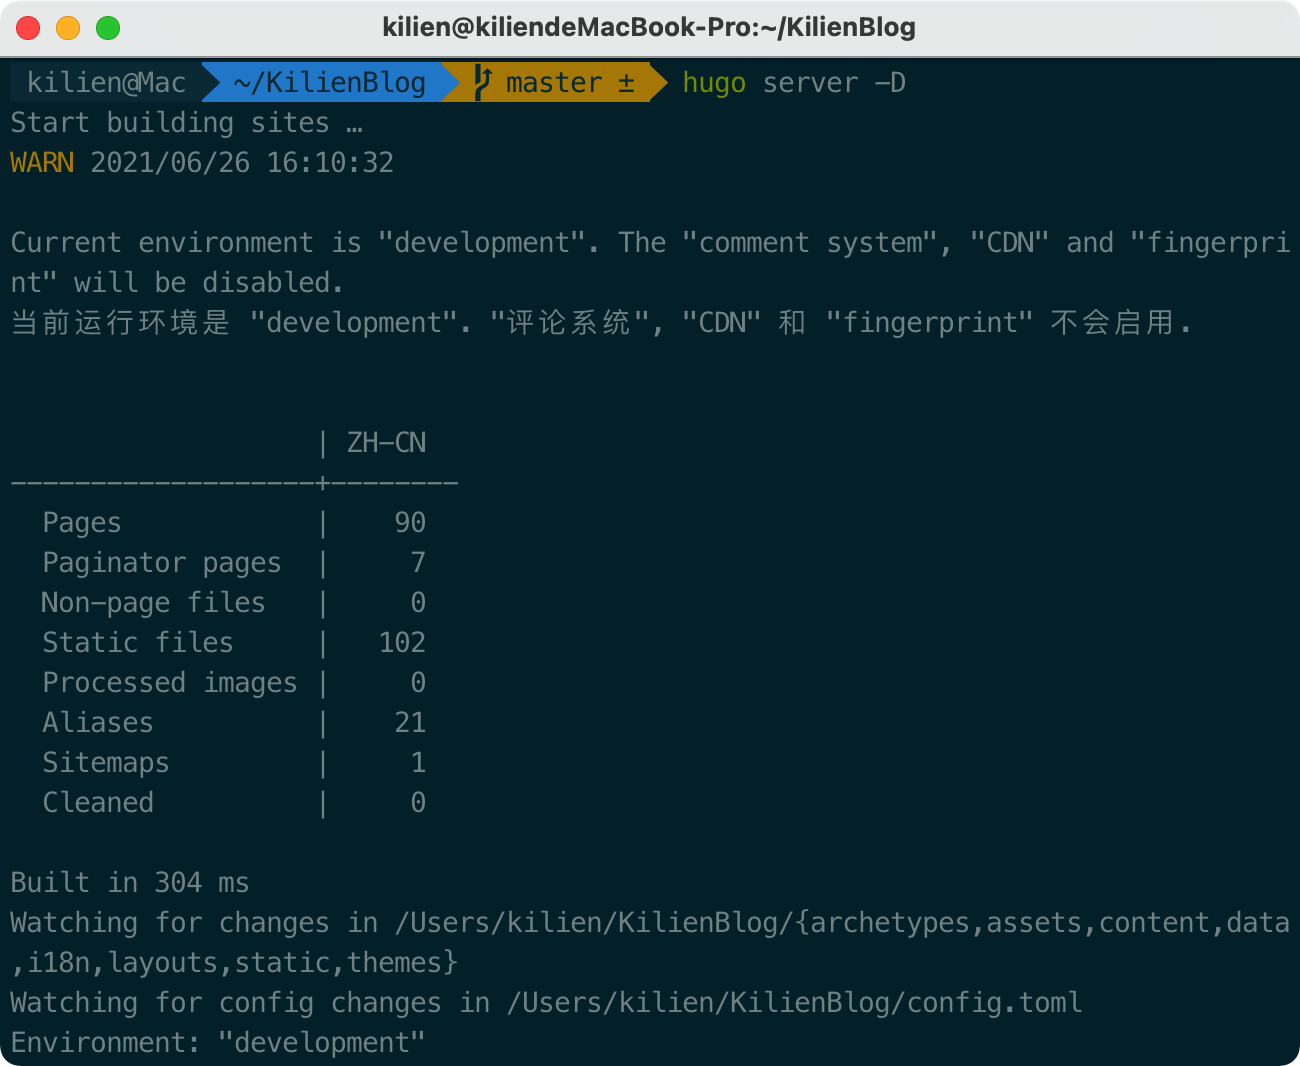
此时command+Q或source配置文件后,iTerm2变了模样:
安装PowerLine
- powerline 官网: http://powerline.readthedocs…
安装 powerline 的方式依然简单,也只需要一条命令:
pip install powerline-status --user没有安装 pip 的同学可能会碰到 zsh: command not found: pip。
使用命令安装 pip 即可:
sudo easy_install pip安装后再次执行安装powerline的命令即可。
安装PowerFonts
安装字体库需要首先将项目 git clone 至本地,然后执行源码中的 install.sh。
在你习惯的位置新建一个文件夹,如:~/Desktop/OpenSource/
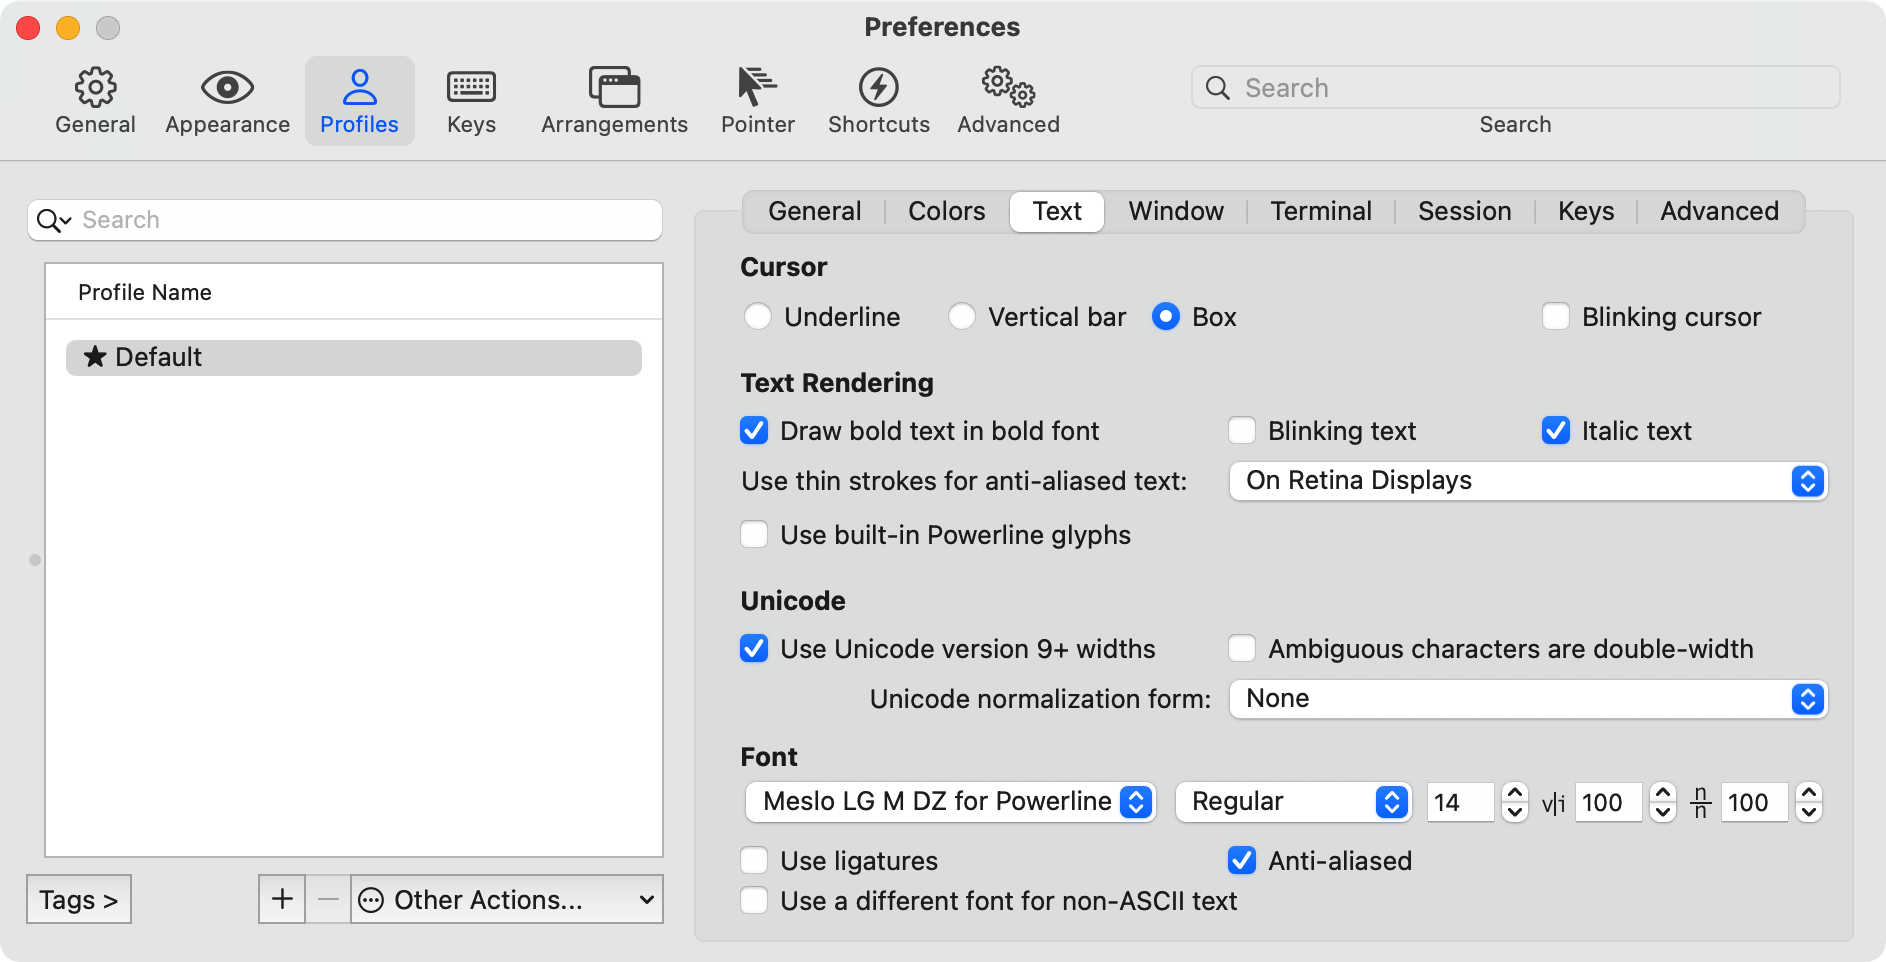
# git clonegit clone https://github.com/powerline/fonts.git --depth=1# cd to foldercd fonts# run install shell./install.sh打开 iTerm2,按 Command + , 键,打开 Preferences 配置界面,然后 Profiles -> Text -> Font -> Chanage Font ,选择 Meslo LG M Regular for Powerline 字体
安装配色方案
配色方案在使用 VIM 或 Colorful Log 时会变得非常有用,同时界面也不会死板。
同样使用git clone的方式下载源码进行安装:
cd ~/Desktop/OpenSourcegit clone https://github.com/altercation/solarizedcd solarized/iterm2-colors-solarized/open .在打开的 finder 窗口中,双击 Solarized Dark.itermcolors 和 Solarized Light.itermcolors 即可安装明暗两种配色.
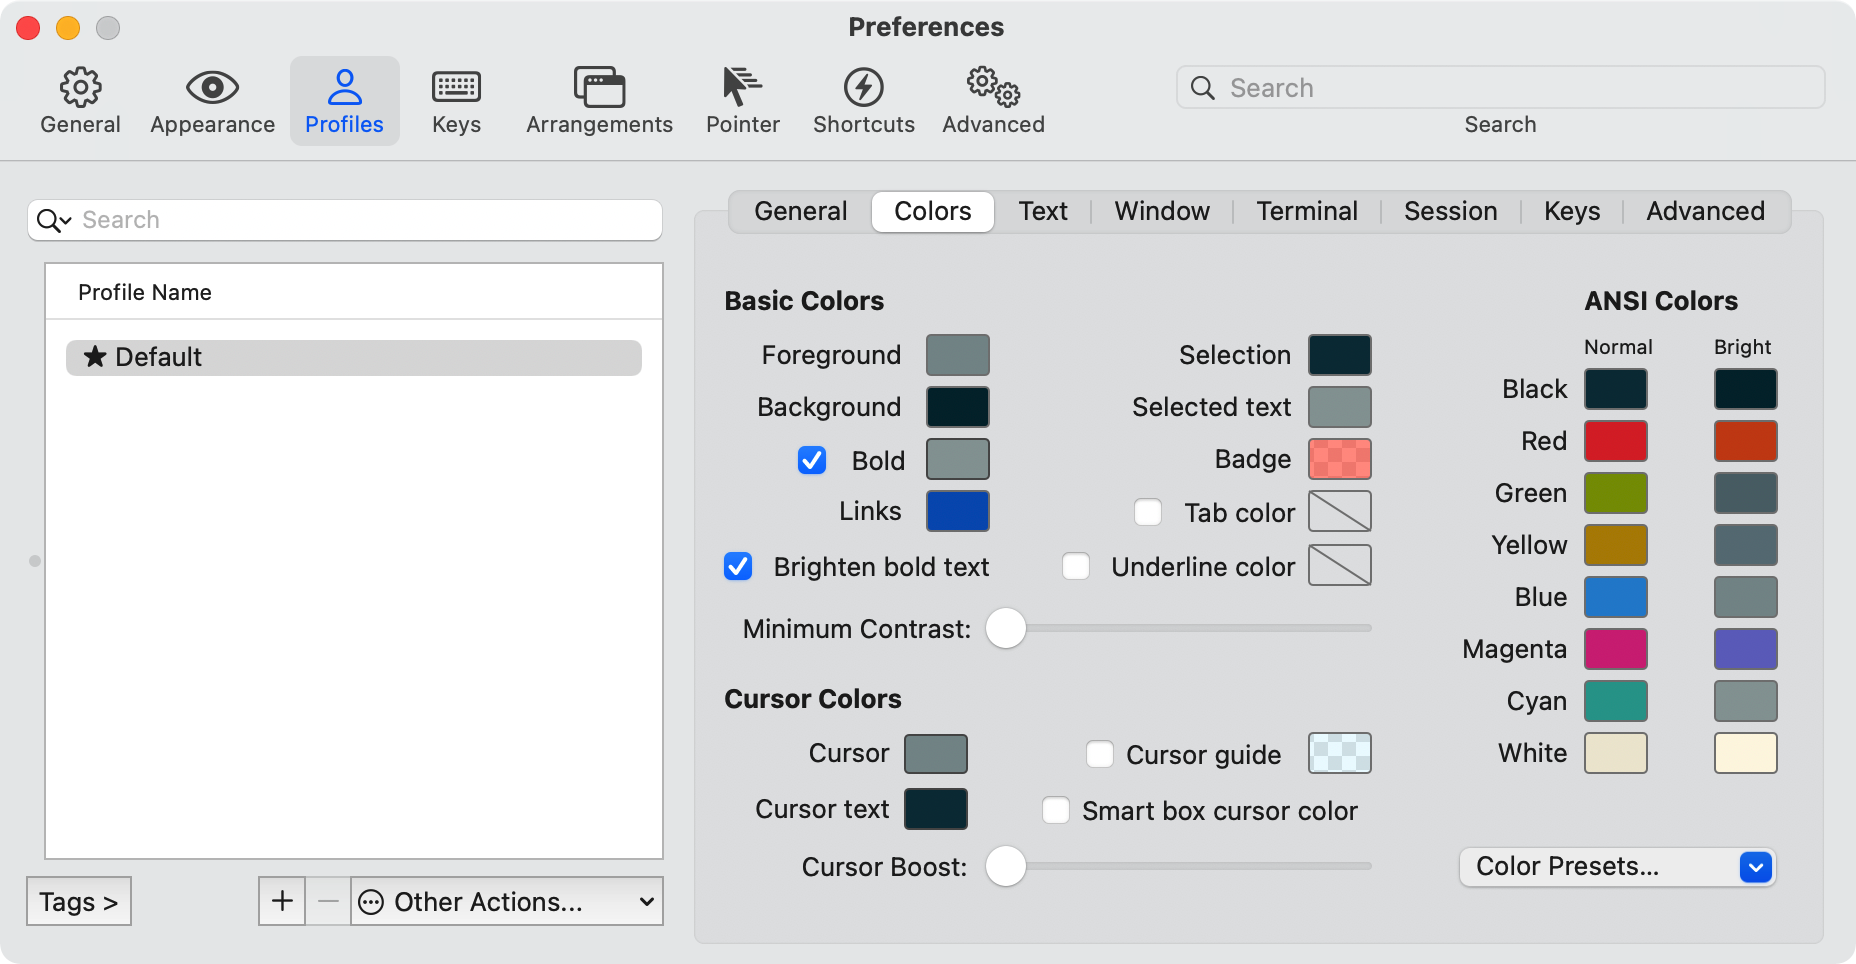
再次进入 iTerm2 -> Preferences -> Profiles -> Colors -> Color Presets 中根据个人喜好选择这两种配色中的一种即可.
安装高亮插件
这是 oh my zsh 的一个插件,安装方式与 theme 大同小异:
cd ~/.oh-my-zsh/custom/plugins/git clone https://github.com/zsh-users/zsh-syntax-highlighting.gitvi ~/.zshrc这时再次打开 zshrc 文件进行编辑。找到 plugins,此时 plugins 中应该已经有了 git,我们需要把高亮插件也加上:
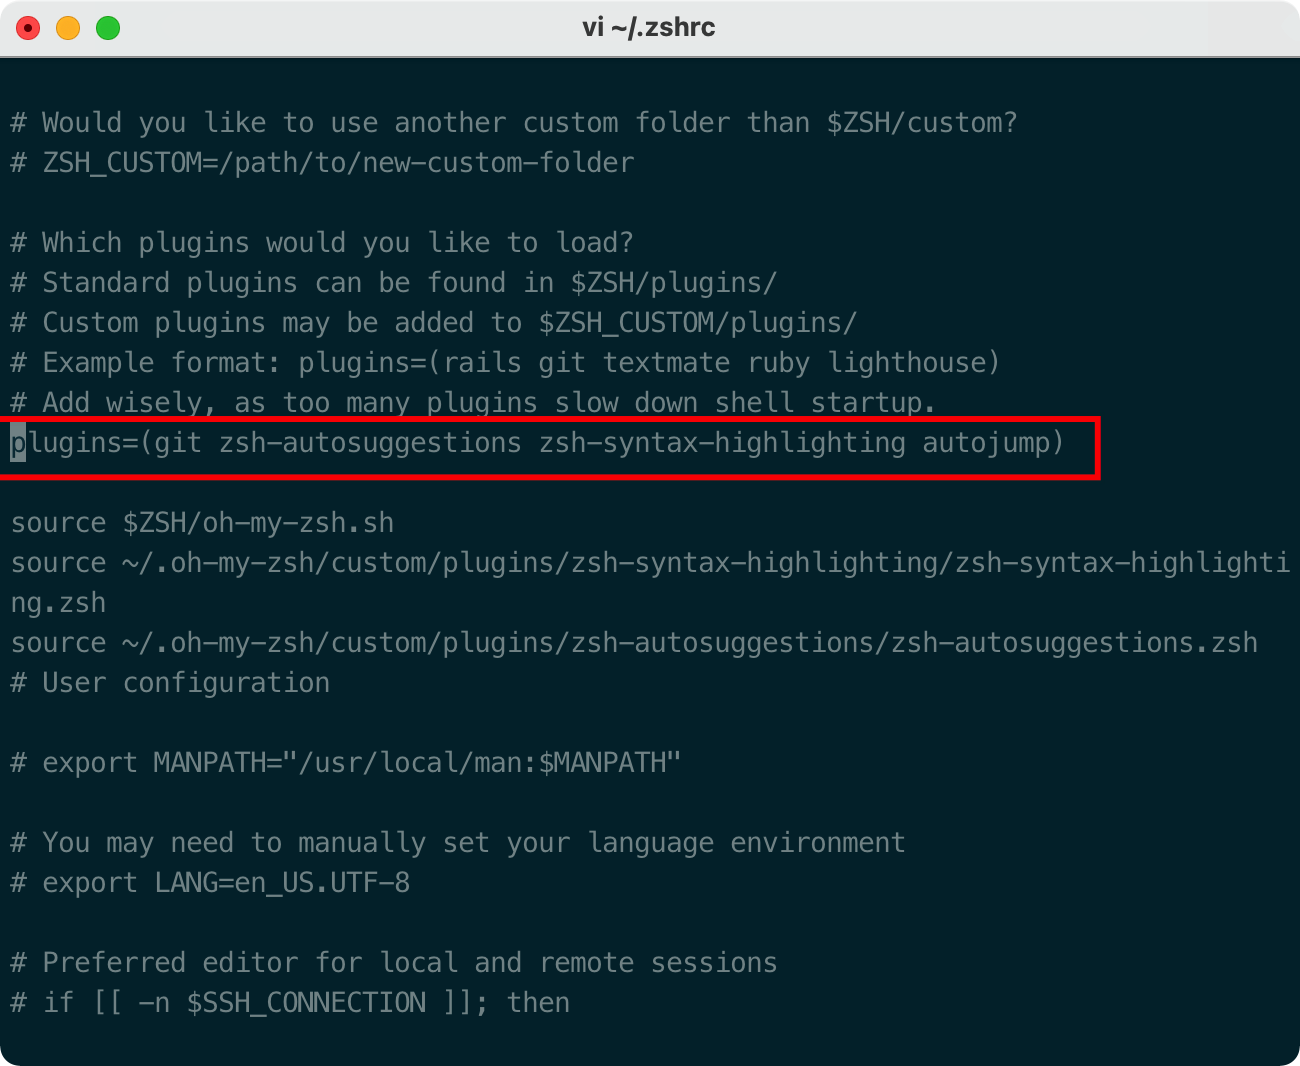
请务必保证插件顺序,zsh-syntax-highlighting 必须在最后一个。
然后在文件的最后一行添加:
source ~/.oh-my-zsh/custom/plugins/zsh-syntax-highlighting/zsh-syntax-highlighting.zsh按一下esc调出vi命令,输入
执行命令使刚才的修改生效:
source ~/.zshrc自动命令补全
zsh-autosuggestion 当我们输入命令时,终端会自动提示你接下来可能要输入的命令,这时按 → 便可输出这些命令,非常方便。
cd ~/.oh-my-zsh/custom/plugins/git clone https://github.com/zsh-users/zsh-autosuggestionsvi ~/.zshrc找到 plugins,加上这个插件即可:

隐藏用户名和主机名
有时候我们的用户名和主机名太长,比如我的kilien@kilienMacBook-Pro,终端显示的时候会很不好看,我们可以手动去除。
编辑 vim ~/.zshrc 文件,增加 DEFAULT_USER="kilien" 配置,可在文本最好追加。
我们可以通过 whoami 命令,查看当前用户。
内容参考: oh-my-zsh